Do It Yourself
Controller
Overview
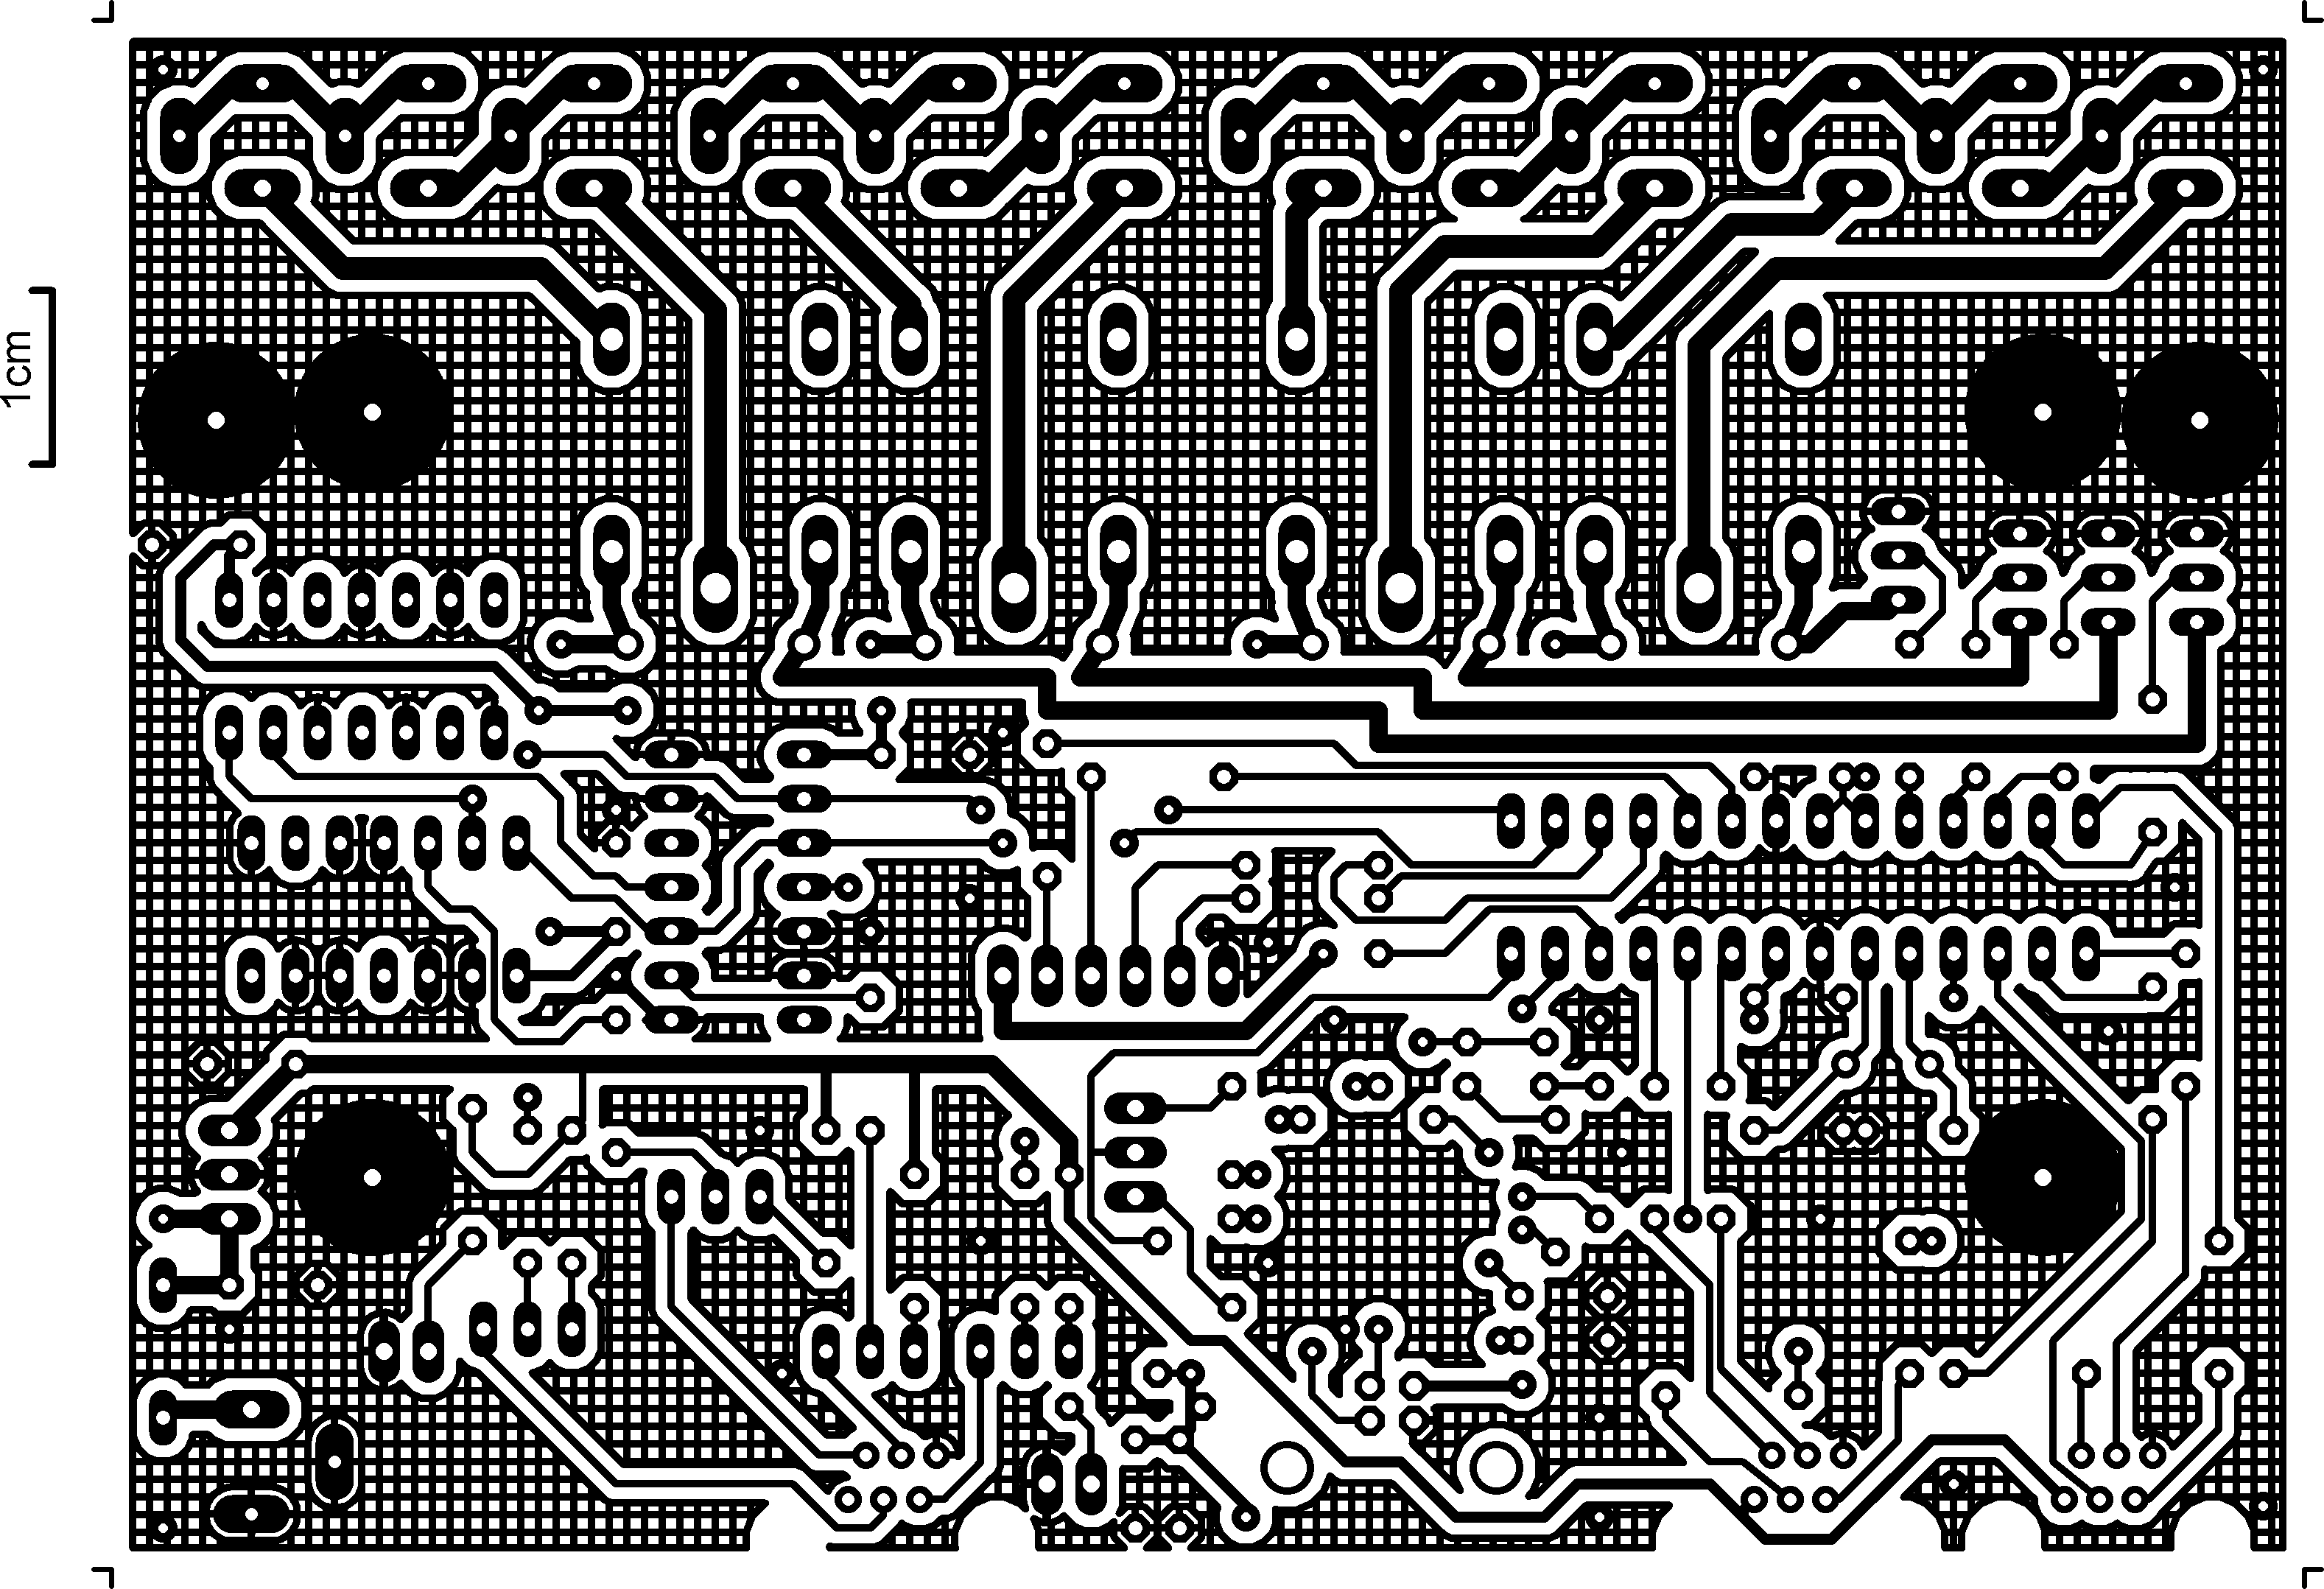
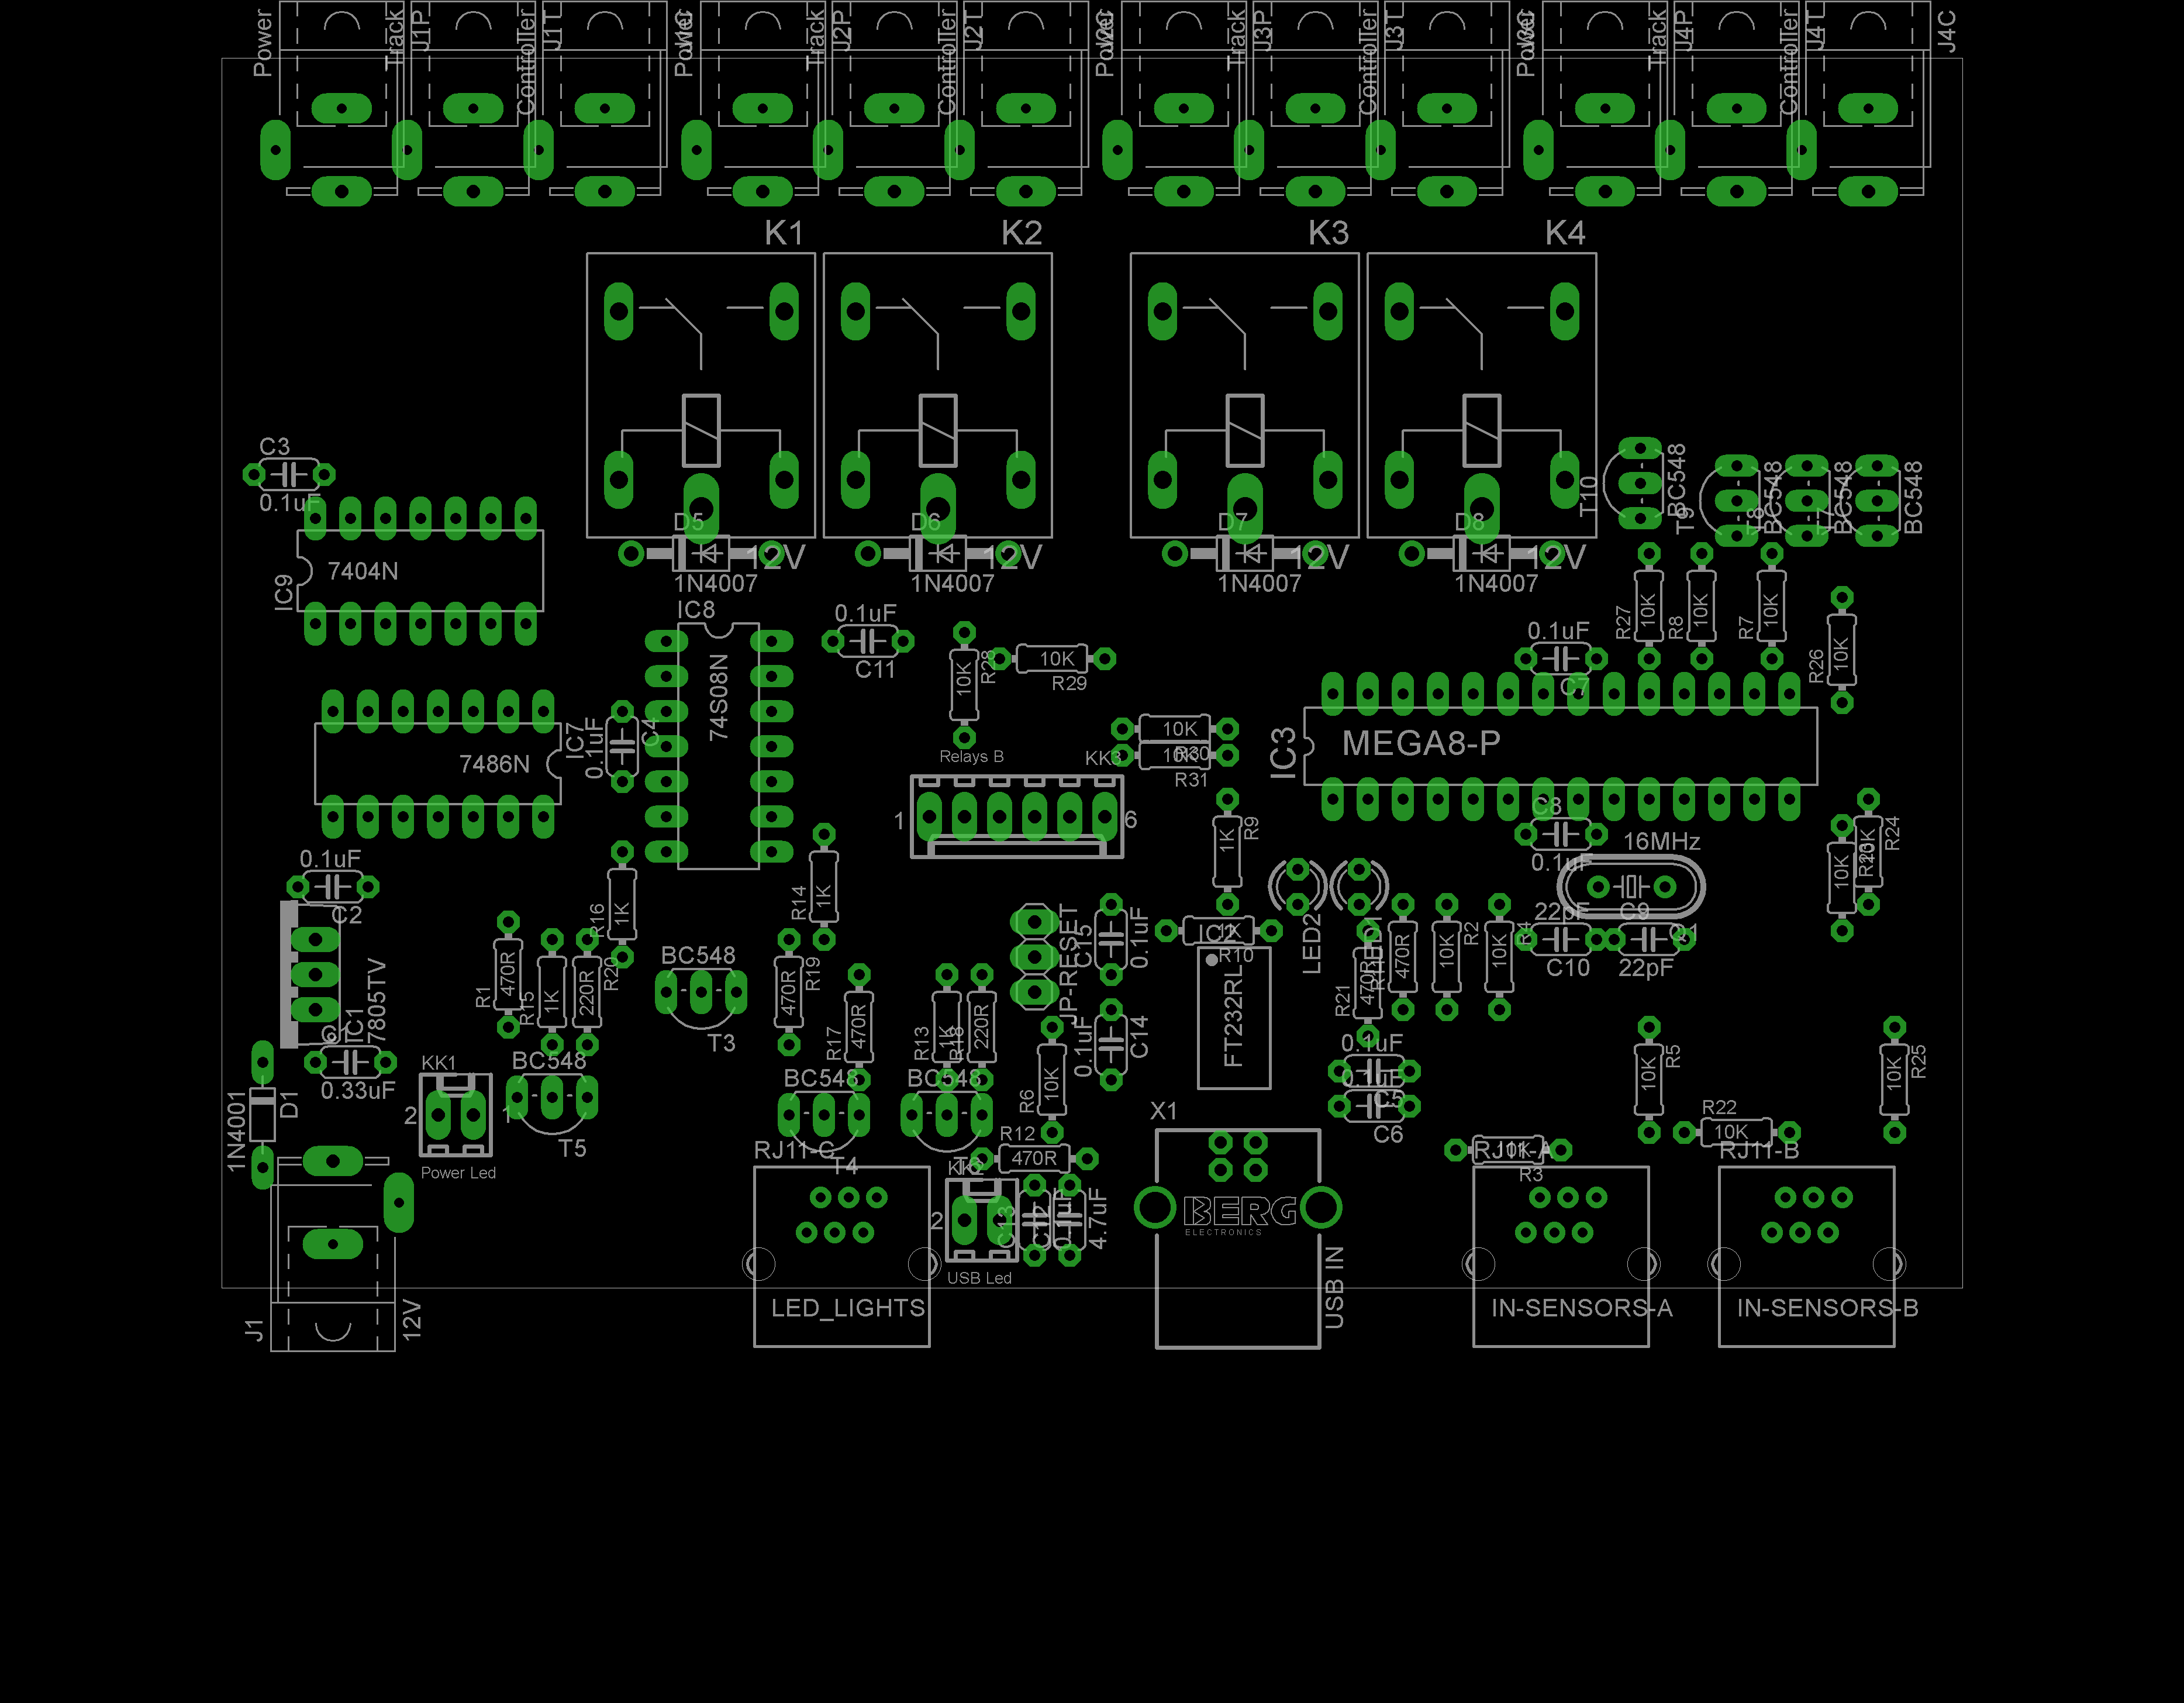
The controller is an equipment that controls the sensors and the relays. It is made with a double sided board and requires more of experience in PCB making. Here we are only demonstrating the assembly process. If you would like to learn how it works, you can get more information in the hardware page.


Material needed
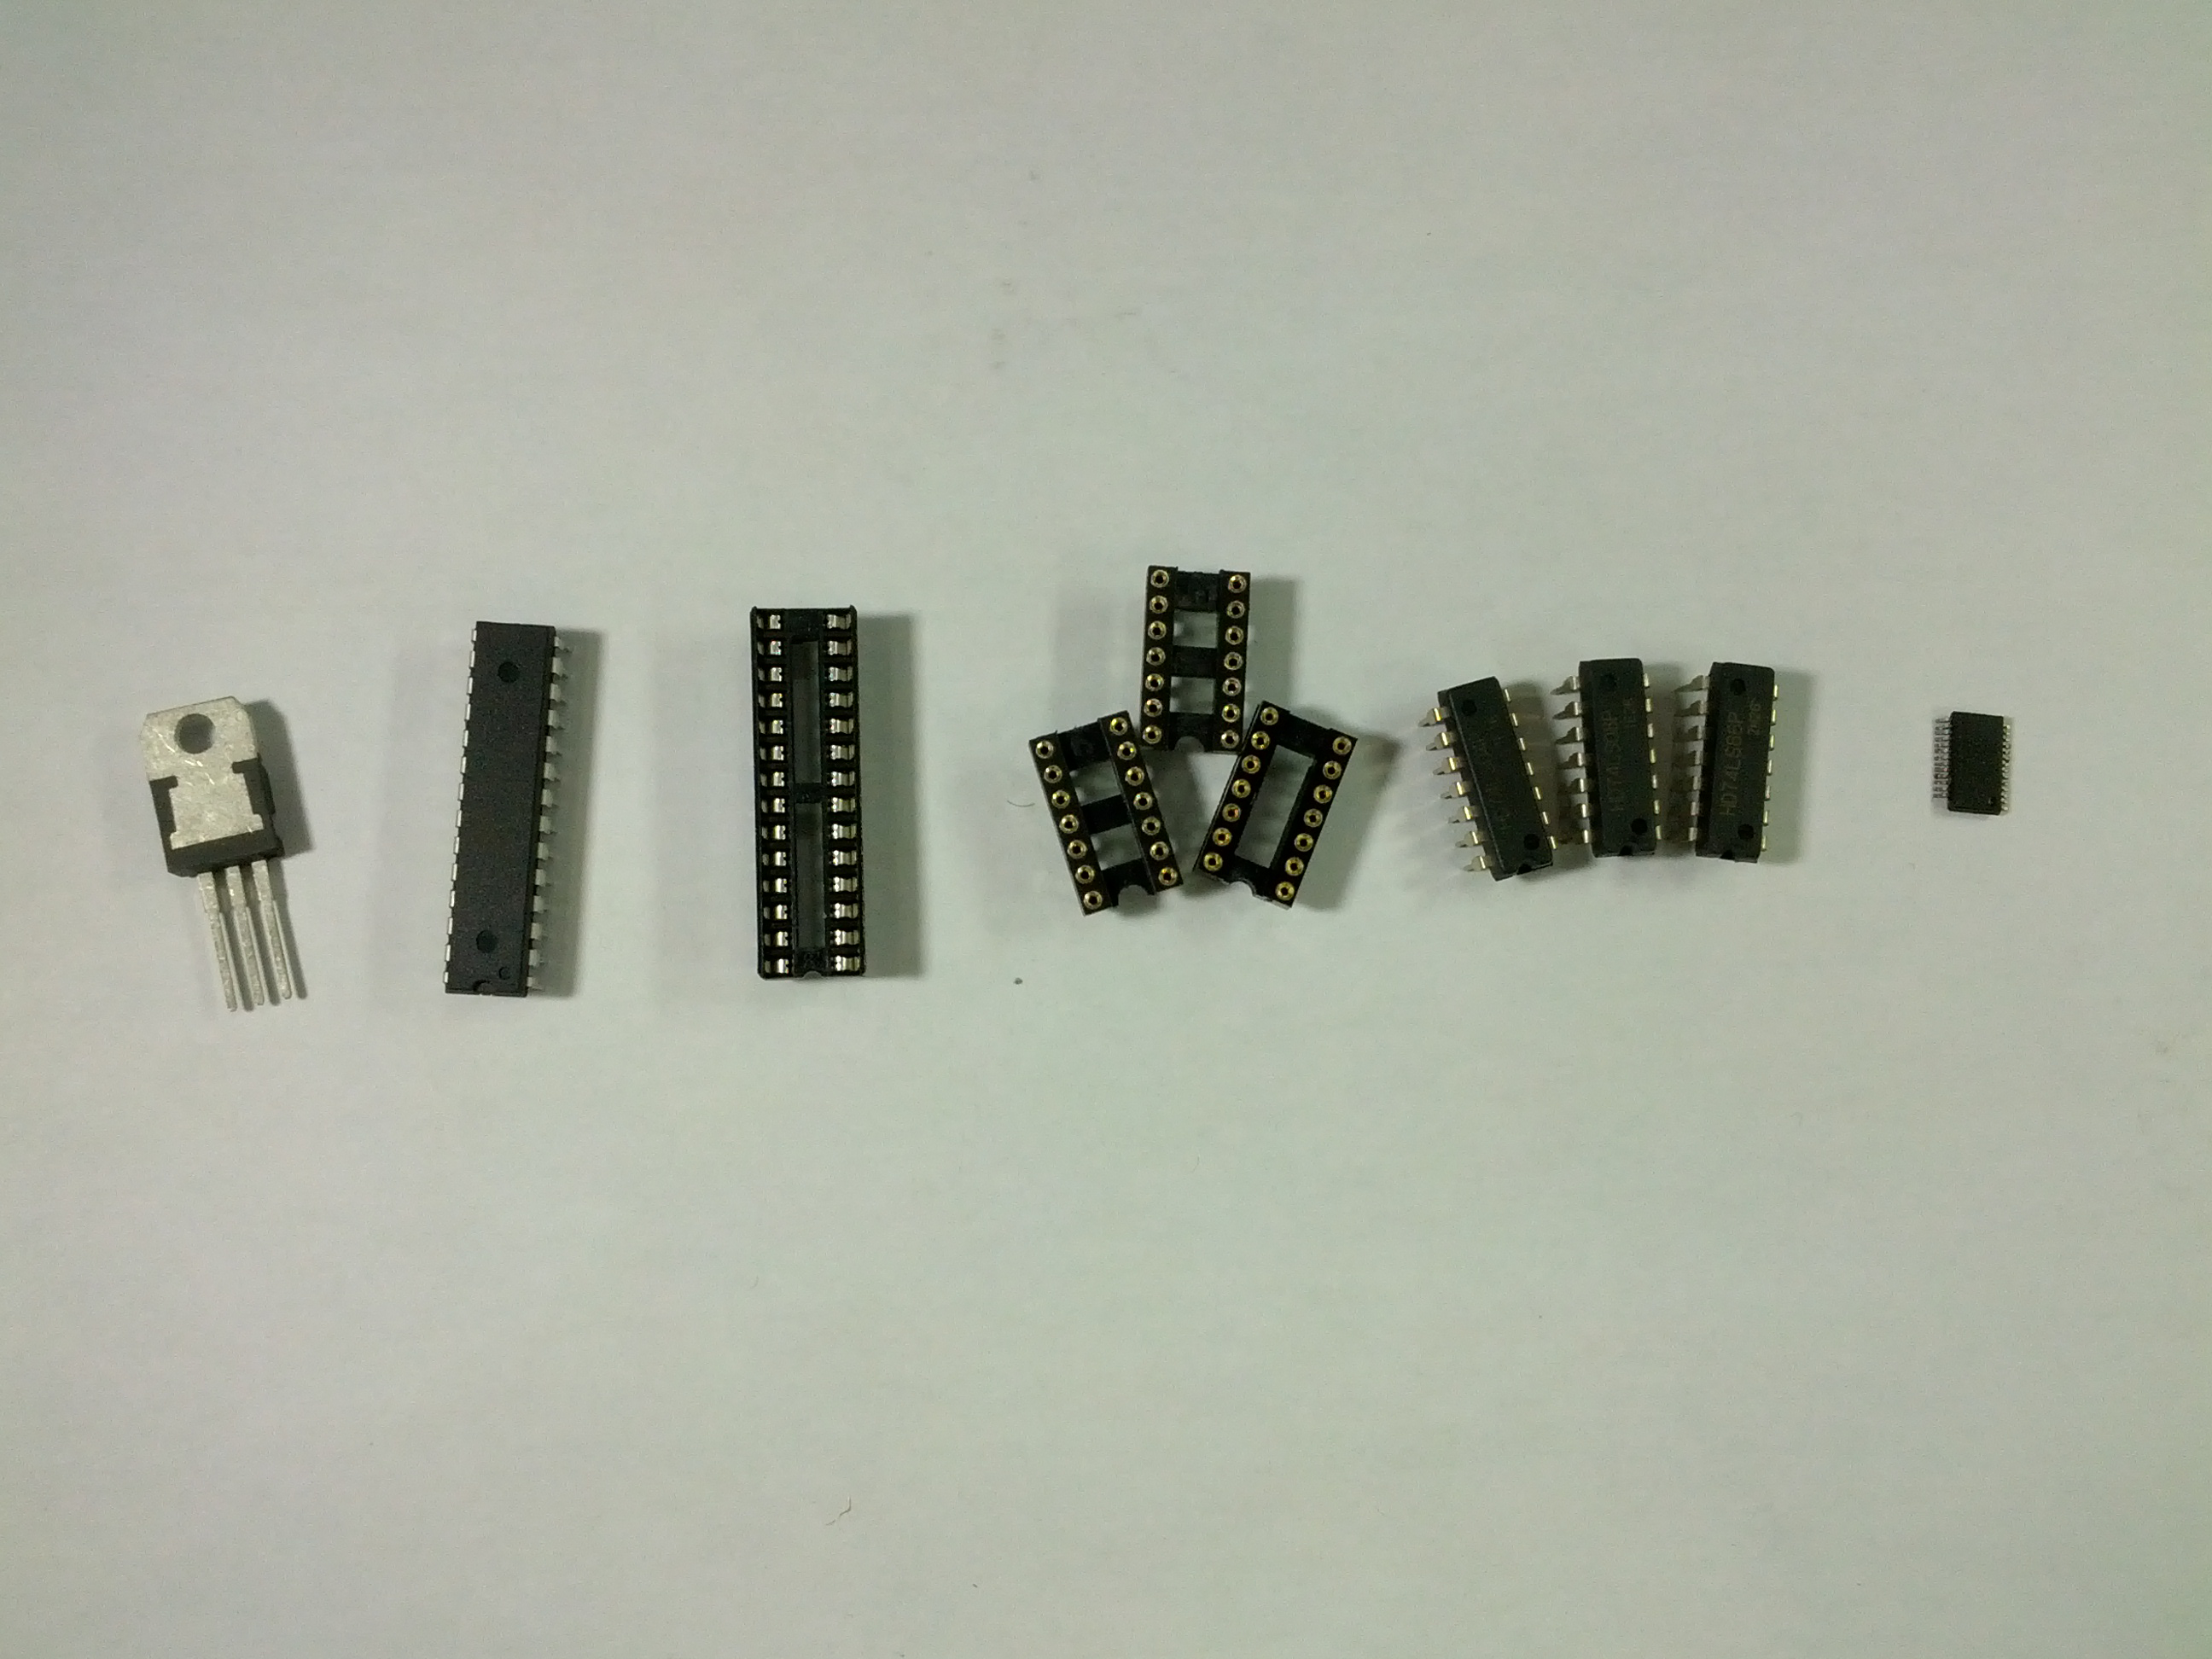
Components needed for the assembly of the controller with 4 lanes (parentheses for 8 lanes):
- 1 Blank double-sided copper board with 125x90mm (+1 blank one-sided copper board 125x50 mm)
- 2x Capacitor 22pF
- 11x Capacitor 0,1µF
- 1x Capacitor 0,33µF
- 1x Capacitor 4,7µF
- 5x Diode 4008 (+4)
- 1x LM7805
- 1x Socket for ATMega328-P
- 4x Socket for TTLs
- 1x ATMega328-P with Arduino Uno bootloader
- 1x FT232RL
- 1x TTL 7404
- 1x TTL 7408
- 1x TTL 7486
- 13x Jack P4 (+12)
- Pin bar with 2 pins
- 4x Relay 12V (+4)
- 2x Conector KK male 2 vertical pin
- 1x Conector KK male 6 vertical pins(+1)
- 2x Conector KK female 2 pins with terminals
- 10cm flat cable 2 pathways
- 2x Yellow led 3mm
- 2x Green led 5mm
- Crystal 16MHz
- 2x Resistor 220Ω
- 6x Resistor 470Ω
- 6x Resistor 1KΩ
- 17x Resistor 10KΩ
- 3x Female RJ-12 Conector
- 8x Transistor BC548 (+4)
- 1x Female USB-B Conector
- Plastic box with screws
- Led support - 5mm
- Cable KK 6 wires 10cm to connect(just for the expansion board)
- Locknuts
- Spacers and screws for expansion board


Assembly
The assembly for mainboard is a little bit more complicated because it has two sides. Futhermore, this board has the SMD (Surface Mount Device) FT232RL integrated circuit. After the assembly of the main board, the expansion board will be easier easier to make.


Once your controller is ready, all you need to do is prepare a championship and send us the photos!